12 Ways to Tell If Your Clothes Actually Fit You
You’ve bought the “right” size. The tag says so. It doesn’t feel tight anywhere, nothing’s ripping at the seams, and you can move your arms without hearing fabric groan. So it fits — right?
Not necessarily. Fit isn’t about whether clothing is wearable. It’s about whether it sits on your body the way it was designed to — and most men have never actually been taught how to check that. You were handed a size chart, not a way of seeing.
This guide walks through 12 concrete, mirror-and-daylight checks you can run on almost anything in your closet — shirts, jackets, trousers, sweaters — to know, with certainty, whether something actually fits or is just technically wearable. No guesswork, no “it feels fine.” Just a repeatable way to check.
Quick Reference: Good Fit vs. Poor Fit
| Area | Poor Fit | Good Fit |
|---|---|---|
| Shoulder seam | Sits past your actual shoulder | Sits right at the edge of your shoulder bone |
| Chest/torso | Pulls and gaps between buttons, or balloons with excess fabric | Skims the body without strain or excess |
| Sleeve length | Ends mid-hand or well above the wrist bone | Ends right at the wrist bone |
| Trouser waist | Needs constant pulling up, or digs in when you sit | Stays put without a belt doing all the work |
| Trouser length | Pools heavily or shows several inches of sock while standing | Breaks cleanly at the shoe |
| Jacket length | Covers most of the seat or stops above the hip bone | Ends around the curve of your seat |
| Collar | Gaps away from the neck or chokes when buttoned | Sits close with one finger of space |
1. Check the Shoulder Seam First — It Can’t Be Fixed Later
What to look for: On a shirt, jacket, or coat, find the seam where the sleeve attaches to the body. It should sit right at the edge of your actual shoulder bone — not out past it, not caving in before it.
Why this matters more than anything else: Shoulder fit is structural. A tailor can take in a waist, shorten sleeves, or hem trousers relatively easily and cheaply. Re-cutting a shoulder seam is expensive, difficult, and often not worth doing at all. If the shoulders are wrong, the rest of the garment is fighting an uphill battle no matter how good it looks elsewhere.
Common mistake beginners make: Focusing on whether a shirt is “tight” or “loose” through the body and never actually looking at where the sleeve seam lands, even though it’s often the first thing a trained eye checks.
How to check it yourself: Stand in front of a mirror, look straight on, and trace the seam line with your finger. If it hangs an inch or more past your shoulder, or sits noticeably inward and looks like it’s pinching, the shoulders are wrong.
Budget tip: When trying on new clothes, prioritize shoulder fit over every other measurement. A shirt that’s slightly loose through the waist but nails the shoulders is a five-minute tailoring fix. A shirt with wrong shoulders but a great waist fit is not worth buying at all.
Key takeaway: If you check nothing else on this list, check this one — it determines whether a garment is even worth altering.
2. Do the “Button and Breathe” Test on Shirts
What it is: Button your shirt all the way up (or to your normal top button), then take a normal breath in.
Why it matters: A shirt that fits should allow a full, normal breath without the buttons straining or gapping open between them. If you see a small horizontal pull line — often called “gaping” — between buttons across the chest or stomach, the shirt is too tight there, regardless of what the tag says.
Why beginners overlook it: Most men try shirts on standing perfectly still and never test movement or breathing, so a shirt can look fine in a static pose and immediately show its problems the moment you sit down or reach for something.
How to fix it:
- Size up and have the shirt tailored to slim the excess elsewhere.
- If it’s only an issue at the stomach or chest specifically, look for shirts labeled with a fuller or “athletic” cut through that area rather than sizing up the whole garment.
Fit Tip: Sit down while trying on a new shirt if possible. Sitting compresses the torso and reveals gaping or pulling that standing straight doesn’t show.
Key takeaway: A shirt that only fits while standing still and holding your breath doesn’t actually fit.
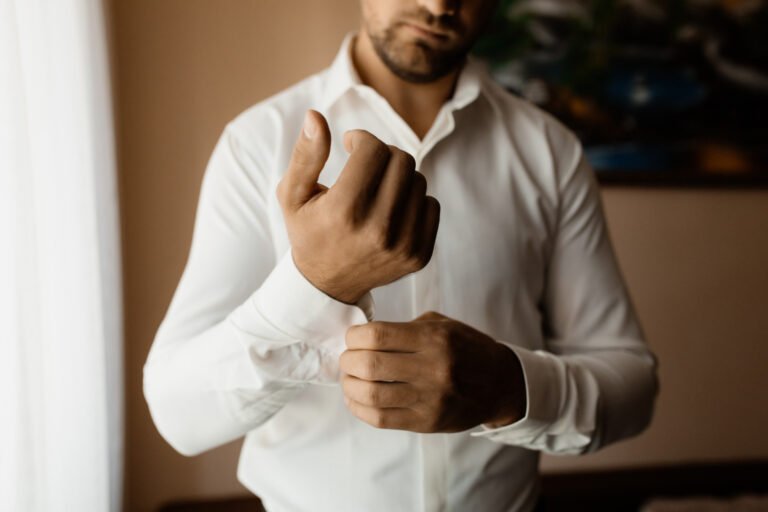
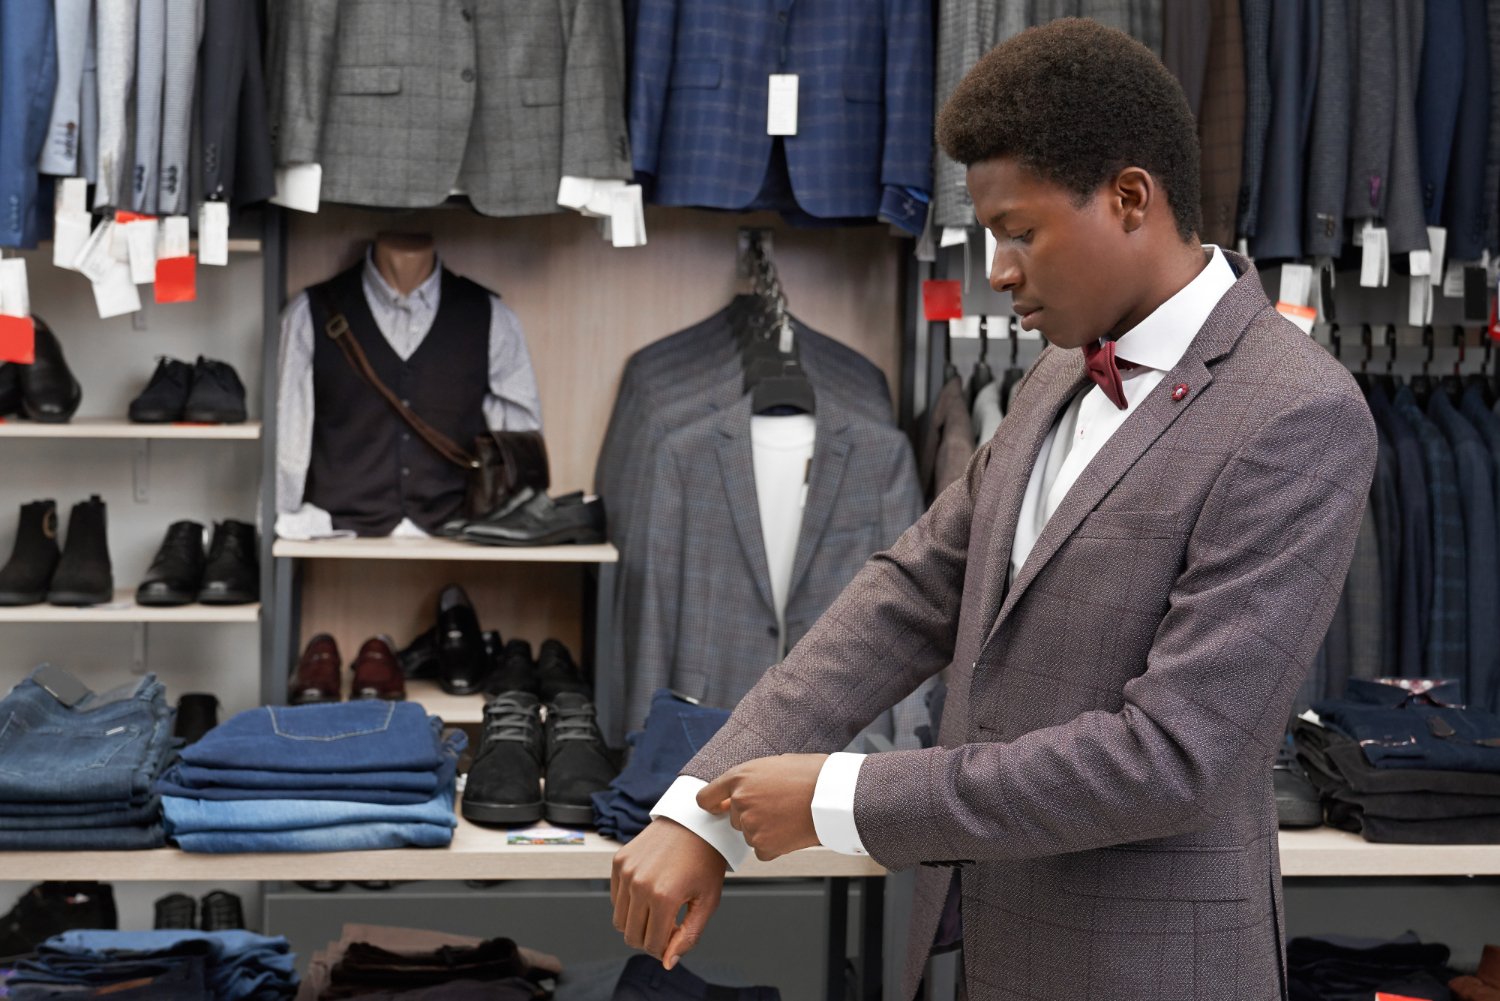
3. Check Sleeve Length Against Your Wrist Bone
What it is: With your arms relaxed at your sides, a dress shirt or jacket sleeve should end right at the wrist bone — not sliding past your knuckles, not stopping halfway up your forearm.
Why it matters: Sleeve length affects how proportional your whole upper body looks. Sleeves that run long make arms look shorter and the whole outfit look borrowed. Sleeves that stop too short read as either a growth spurt or a garment that’s simply the wrong size.
Common mistake: Buying shirts based on collar size alone (common in dress shirts) and ignoring sleeve length entirely, resulting in sleeves that are technically “your size” but visually wrong.
How to check it:
- Let your arms hang naturally at your sides.
- The shirt sleeve should end exactly at the wrist bone.
- For jackets, a slightly shorter sleeve that shows about a half-inch of shirt cuff is intentional and correct — not a mistake.
Budget tip: Sleeve length is one of the cheapest and most impactful tailoring fixes available — often under $15–20 — so don’t rule out a shirt you otherwise like just because the sleeves run long.
Key takeaway: Wrist-bone-length sleeves instantly make an outfit look deliberate rather than accidental.
4. Pinch the Fabric at Your Waist and Chest
What it is: Take a light pinch of fabric at your side, around the chest and again at the waist, while wearing a shirt or jacket.
Why it matters: This tells you how much excess fabric you’re carrying. As a general guideline, being able to pinch roughly one to two inches of fabric suggests a comfortable, non-restrictive fit. Pinching a large handful signals the garment is too big; being unable to pinch any fabric at all — or feeling the fabric strain — signals it’s too tight.
Why beginners overlook it: Without a reference point, “too big” and “just roomy” can look identical in a mirror, especially in patterned or textured fabrics that hide excess material more easily than solid colors.
How to use this test: Do it at three points — chest, waist, and if wearing a jacket, across the back — since a garment can fit well in one area and be off in another.
Common Mistake: Assuming a shirt fits because it isn’t tight, without checking whether it’s actually loose enough to be sloppy through the torso.
Key takeaway: A light, controlled pinch of fabric — not a fistful, not nothing — is the sign of a well-fitted torso.
5. Sit Down Before You Decide Anything Fits
What it is: Test any seated activity — sitting in a chair, driving position, bending to tie your shoes — while wearing the garment, not just standing in front of a mirror.
Why it matters: A huge number of fit problems only appear when you move. Trousers that look perfect standing can dig painfully into the waist when seated. Jackets that button cleanly standing can pull and gape across the back when you reach forward.
Common mistake beginners make: Trying on clothes only in the store’s standing mirror and never testing the actual movements they’ll do while wearing the garment — sitting at a desk, driving, bending down.
How to check it:
- Sit down fully and check if trouser waistbands dig in or shirt buttons strain.
- Reach forward with your arms as if typing or shaking hands, and check for pulling across the shoulders and back.
- Bend slightly at the waist and check that trousers don’t restrict movement uncomfortably.
Shopping Tip: If you’re buying online and can’t physically test movement, look at your existing best-fitting garment of the same type, lay it flat, and compare exact measurements (chest, shoulder width, sleeve length) against the new item’s size chart rather than relying on size labels alone.
Key takeaway: Fit isn’t just about standing still — it has to hold up through the ways you actually move in real life.
6. Check Trouser Break and Length With Your Actual Shoes On
What it is: The “break” is the fold (or lack of one) where your trouser hem meets the top of your shoe. This only reads correctly when tested with the shoes you’ll actually wear.
Why it matters: Trouser length dramatically affects how proportional your legs and overall silhouette look. Too long, and fabric pools messily at the ankle. Too short (unintentionally), and it looks like you grabbed the wrong pair.
Common mistake: Trying on and hemming trousers with one pair of shoes (like sneakers), then wearing them with a different pair (like dress shoes) where the heel height changes the break completely.
How to check it:
- Stand naturally in the shoes you plan to wear with the trousers.
- A slight break (a small fold at the front) reads as classic; a clean, no-break line reads as modern and slim.
- If you see multiple folds stacking at the ankle or several inches of visible sock while standing still, the length is off.
Fit Tip: If you regularly wear both sneakers and dress shoes with the same trousers, expect to need two different hem lengths — or choose trousers with a slightly adjustable or cuffed hem to bridge the gap.
Key takeaway: Never judge trouser length without the actual shoes you’ll wear them with — the break changes completely depending on heel height.
Read also: 15 Style Mistakes Every Man Makes Before He Learns to Dress Well
7. Check the Trouser Waist Without Relying on Your Belt
What it is: Put on trousers without a belt and see whether they stay in place on their own, or whether they immediately start sliding down.
Why it matters: A belt is meant to be a finishing touch, not a rescue tool. If your trousers only stay up because the belt is cinched tightly, the waist size is wrong, and you’ll likely notice bunching or an unnatural line above the belt line as a result.
Why beginners overlook it: Belts hide waist-fit problems so effectively that it’s easy to never notice the underlying issue — until you sit down and feel the belt digging in, or notice the trouser fabric bunching oddly above it.
How to check it:
- Put trousers on and fasten only the button or hook, no belt.
- Walk around, sit down, and see if they hold their position without slipping.
- If they immediately drop or feel loose enough to need a firm belt just to function, size down or have the waist taken in.
Common Mistake: Buying trousers a size larger for a “just in case” comfort margin, then compensating with a tightly cinched belt — which usually creates visible bunching just above the waistband.
Key takeaway: A properly fitted waist shouldn’t need a tight belt to do all the work of keeping your trousers up.
8. Check for Pulling or Straining Across the Back
What it is: With a shirt or jacket on, reach both arms forward as if you’re about to shake someone’s hand, or round your shoulders slightly forward.
Why it matters: This is one of the most reliable ways to catch a garment that’s too tight through the back or shoulders — an area that’s easy to miss when only checking the front view in a mirror.
Why beginners overlook it: Most fit-checking happens facing a mirror straight-on, but a huge amount of daily movement — driving, typing, carrying bags, reaching for things — happens with arms forward, an angle rarely tested before buying.
How to check it:
- Reach your arms forward and slightly across your body.
- Watch for a visible horizontal strain line across the upper back or shoulder blades.
- If the fabric pulls tight enough to show your shirt color lightening or fabric texture stretching, it’s too small through the back.
Stylist Tip: This test matters most for jackets and structured shirts, since knitwear and stretch fabrics naturally have more give and are less likely to show this kind of strain.
Key takeaway: A garment that only looks right facing forward and motionless isn’t necessarily fitting your actual body in motion.
9. Check Jacket Length Against Your Seat
What it is: With a blazer, sport coat, or structured jacket on, check where the hem falls relative to your seat (backside) from the side profile in a mirror.
Why it matters: Jacket length is a major proportion signal. A jacket that’s too long visually shortens your legs and can look outdated; one that’s too short can look like it’s been outgrown, even on a slim build.
Common mistake: Judging jacket length only from the front, when the more telling angle is actually the side or back view, where you can see exactly how much of the seat is covered.
How to check it:
- Stand naturally and check the side profile in a mirror or photo.
- A well-proportioned jacket typically covers your seat and ends around where your fingers naturally curl when your arms hang relaxed at your sides.
- Significantly more or less coverage than that usually signals the wrong length for your torso.
Body Type Note: Taller men often need a longer jacket length proportionally to avoid a cropped look, while shorter men usually benefit from a slightly shorter jacket length to avoid the jacket overwhelming their frame.
Key takeaway: Jacket length is best judged from the side, not the front — and it should roughly align with where your fingertips fall at rest.
10. Check Collar Fit With the One-Finger Rule
What it is: Button your shirt collar all the way and try to slide one finger comfortably between your neck and the collar.
Why it matters: Collar fit affects both comfort and appearance — too tight, and it looks constricting and creates unflattering neck bulge; too loose, and it gaps unattractively and looks like you’re wearing a hand-me-down.
Common mistake: Buying dress shirts based on chest or overall size labels (S/M/L) rather than actual neck measurement, which is how properly fitted dress shirts are traditionally sized.
How to check it:
- Button the collar fully.
- You should be able to fit one finger between your neck and the collar comfortably — not two or three (too loose), and not a struggle to fit even one (too tight).
Shopping Tip: If you know your actual neck measurement in inches or centimeters, shop dress shirts by neck size specifically rather than generic S/M/L labeling, which varies significantly between brands.
Key takeaway: The one-finger rule is a fast, reliable way to check collar fit without needing any measuring tools.
11. Take a Photo From the Side — Not Just the Front
What it is: Most fit-checking happens facing a mirror head-on. A side-profile photo reveals a completely different set of problems.
Why it matters: From the front, baggy or overly tight clothing can be surprisingly easy to miss, especially with patterns or dark colors that visually flatten the silhouette. The side view exposes exactly how much a shirt is billowing out, how a jacket sits relative to your seat, and whether trousers are actually tapering correctly or just look that way from one angle.
Why beginners overlook it: It feels unnatural to photograph yourself from the side, so most men simply never do it — and end up relying entirely on a front-facing mirror view that hides a lot of real information.
How to do it:
- Stand naturally, don’t pose stiffly, and take a photo (or have someone take one) from directly to your side.
- Compare it against the front view — look specifically for excess fabric billowing at the back or sides that wasn’t visible head-on.
Confidence Tip: This one small habit — checking a side photo before leaving the house for something important — catches more real fit problems than any other single check on this list, simply because it’s an angle you almost never see in daily life.
Key takeaway: If a garment only looks good from the front, it isn’t actually fitting you — it’s just fitting the angle you happened to check.
12. Compare New Purchases Against Your Best-Fitting Existing Garment
What it is: Before buying anything new — especially online — lay a similar item you already own and know fits well flat on a table, and compare its exact measurements against the new item’s size chart.
Why it matters: Sizing varies enormously between brands, and even within the same brand across different cuts or collections. A “medium” in one brand can measure like a “large” in another. Relying on past size memory alone leads to a closet full of inconsistently fitting clothes.
Why beginners overlook it: It feels like extra effort compared to just buying your usual size, but this single habit prevents the majority of online-shopping fit disasters and returns.
How to do it:
- Lay your best-fitting shirt, jacket, or trousers flat and measure chest width, shoulder width (seam to seam), sleeve length, and total length with a tape measure.
- Compare those numbers directly against the brand’s size chart rather than trusting the labeled size alone.
- Keep a simple note of your measurements on your phone so you can check quickly while shopping.
Budget Tip: This habit alone can significantly cut down on returns and wasted purchases, since you’re buying based on actual measurements instead of guessing from a label.
Key takeaway: Measurements are consistent; size labels are not. When in doubt, measure — don’t guess.
Putting It All Together: A 2-Minute Fit Check Routine
Run through this quickly before any outfit that matters — an interview, a first date, an important meeting:
- ✅ Check the shoulder seam sits at the edge of your shoulder.
- ✅ Button up and take a breath — no gaping.
- ✅ Check sleeves land at your wrist bone.
- ✅ Pinch chest and waist — controlled amount of fabric, not a handful.
- ✅ Sit down and reach forward — no pulling or digging.
- ✅ Check trouser break with your actual shoes.
- ✅ Confirm trousers stay up without relying on a tight belt.
- ✅ Look at the side profile, not just the front.
If everything on that list checks out, the outfit fits — not just technically, but the way it’s actually meant to.
Frequently Asked Questions
1. How do I know if a shirt is too big instead of just relaxed on purpose? Check the shoulder seam first — if it hangs noticeably past your actual shoulder, it’s too big, regardless of how the rest of the shirt looks. A relaxed-fit shirt should still have shoulder seams landing at or very close to your shoulder edge.
2. Why do my clothes look fine standing still but wrong in photos or when I move? Static, front-facing mirror checks miss a lot. Movement (sitting, reaching, walking) and different angles (side profile) reveal pulling, gaping, and excess fabric that a straight-on standing check simply doesn’t show.
3. Should I size up if I’m between two sizes? It depends on the area causing the issue. If it’s isolated to one part of the body (like the chest on an otherwise good fit), look for a fuller cut in that area rather than sizing up the entire garment, which can throw off the shoulders and length.
4. How can I check fit when shopping online, without trying anything on? Compare the brand’s exact measurements against a similar garment you own that already fits well, rather than relying on the labeled size (S/M/L or numeric) alone.
5. What’s the most commonly ignored fit-check area? The shoulder seam and the side-profile view are the two most frequently skipped checks, even though they reveal some of the most visually significant fit problems.
6. Is it normal for sleeve length to vary between shirts and jackets? Yes — dress shirt sleeves should reach the wrist bone, while jacket sleeves are intentionally cut slightly shorter to reveal a small amount of shirt cuff, which is a design choice, not a fit error.
7. Can tailoring fix a garment that’s too small, or only too big? Tailoring can take in fabric relatively easily (making something too big fit properly), but adding fabric to a garment that’s genuinely too small is far more limited and often not possible, especially through the shoulders.
8. How tight should trousers be at the waist? Snug enough to stay in place comfortably without a belt doing the work, but not so tight that sitting down causes digging or an uncomfortable waistband line.
9. Does fit matter as much for casual clothes like t-shirts and sweatshirts as it does for dress clothes? Yes. Even casual pieces have a shoulder seam, a torso fit, and a sleeve length that can look either intentional or accidental — the same checks apply, just with more built-in room for a relaxed fit.
10. How often should I re-check the fit of clothes I already own? Body composition can shift over time, so it’s worth re-checking your regularly worn pieces every several months, especially anything structured like blazers, dress shirts, or tailored trousers.
11. What’s the fastest single test to judge fit on the spot? The one-finger collar rule for shirts, and the shoulder-seam check for anything with sleeves — both take seconds and catch the most common and most visible fit problems.
12. Is a slightly loose fit ever the “right” fit? Yes, when it’s intentional and balanced — a relaxed top with slimmer bottoms, for example. The goal isn’t tightness; it’s control. The shoulder seam, collar, and overall silhouette should still look deliberate, not accidental.
Final Thoughts
Fit isn’t something you can eyeball once and trust forever — brands vary, bodies change, and a garment that felt “fine” in a fitting room can reveal real problems the moment you sit down, reach forward, or catch yourself from an angle you don’t usually see.
Run through these 12 checks on a few pieces already in your closet this week. You’ll likely find at least one or two “fine” items that aren’t actually fitting the way you assumed — and once you start checking properly, you won’t be able to unsee it in every outfit going forward, in the best possible way.
Read also: